How to Improve Bathroom Ventilation

How to Improve Bathroom Ventilation Have you ever stepped into your bathroom long after a shower only to find it just about as humid as when you left it? It happens to the best of us and it’s a sure-fire sign that your bathroom ventilation isn’t working as well as it should be. As you can imagine, proper ventilation is critical for the longevity of your bathroom surfaces and the health of those who use it. Without it, moisture can linger and turn into mold. Yuck! To avoid the messy and expensive repercussions of a moldy bathroom, you’ll want to ensure your ventilation is up to the task. Not sure where to start? We’ve got you covered with our top five tips to improve bathroom ventilation.
Select the Right Fan: If you’re starting from scratch and purchasing a new fan, the best place to start is by measuring your bathroom. For optimal ventilation, a fan should provide eight full air exchanges per hour. To ensure this is possible, the cubic-feet-per-minute (CFM) capacity of your fan should be the same as your bathroom’s square footage. This means if your bathroom is roughly 60 square feet, you need a fan with a 60 CFM capacity. Once you know this, you can move onto selecting a model. As long as the fan has the proper CFM for your bathroom and works with your existing ventilation system (i.e. wall-mounted vs. ceiling), you should be fine to choose one with all the bells and whistles you want.
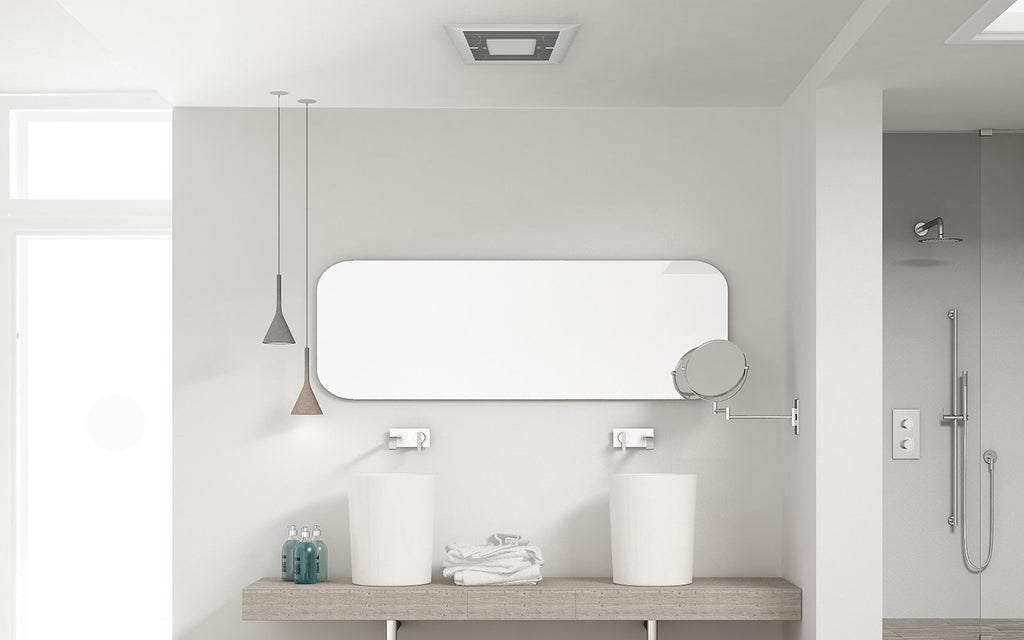
Choose the Best Location: We know what you’re thinking and yes there is a ‘best’ location for your bathroom fan. It should sit close to your bathtub and/or shower, but not directly beside an air conditioning or heating vent. This is because the forced air can create air streams that disrupt the fan’s intake of air. It’s also important to note that your bathroom exhaust fan must vent outside – not into your attic or another dead space in your home.
Remember to Use it: A bathroom fan is of no use if you never turn it on. Ideally, you should be using your bathroom fan anytime you’re creating humidity (while showering/bathing) and when you need some extra circulation (ahem: toilet time). It’s also important to leave the fan running for around 15 minutes after a shower/bath to fully eliminate moisture from the air. Do you tend to shower before work and can’t hang around to turn it off? No problem. There are a few options on the market with timers that turn off automatically and humidity sensors that turn on when levels are too high.
Keep it Breezy: Even top of the line exhaust fans can’t compete with an open window – fresh air always wins. If you’re lucky enough to have a bathroom window, open it up! Especially after steamy showers and baths. Another tip for reducing moisture in your bathroom is to ensure your shower door/curtain is kept open after use. This encourages evaporation and prevents moisture from becoming trapped in your shower.
Perform Regular Maintenance: While bathroom fans don’t require a ton of maintenance, they aren’t a fix-it-and-forget-it fixture either. To ensure your fan functions optimally you should be cleaning it at least every six months. All you have to do is turn off the electricity to your bathroom, remove the cover, vacuum away the dust and cobwebs inside the fan (the upholstery brush works well for this), and put it back together. Easy, peasy.
While a properly selected and installed fan will reduce the moisture and humidity in your bathroom, a little help never hurts either. Open up that window, turn on the fan when necessary, and clean up any puddles of water to ensure your bathroom stays as dry as possible. When it comes to bathrooms, breezier is always better.

 Canada