How to Create the Perfect Wet Room

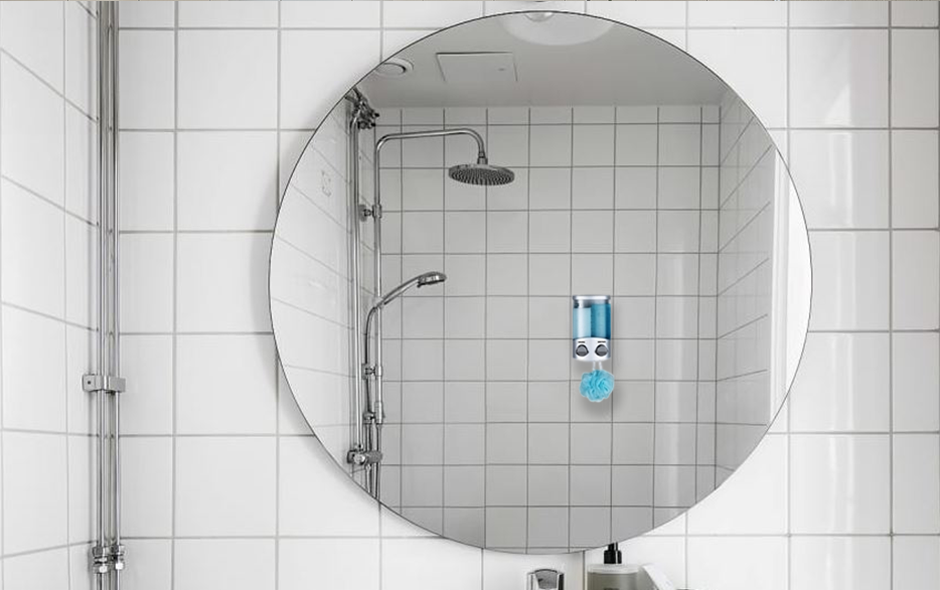
The wet room— once a necessary solution for small European bathrooms—is now a sought-after design for modern minimalists at heart. They have all the same elements as regular bathrooms, but without a physical barrier between the shower area and the rest of the bathroom. That means no shower basin and in many cases, no shower curtain or glass panel either. While it may sound messy to some, it’s a smart way to visually (and physically) open a small space and provide the streamlined design many minimalists crave. If you’re thinking about creating a wet room in your home, we’ve got a few tips to help make sure it’s picture-perfect.
Utilize an Awkward or Unused Space: Wet rooms are a great way to utilize awkward spaces because, unlike regular bathrooms, your layout won’t be dictated by standard shower basin sizes. So, if you have an unused upstairs nook with slanted ceilings or extra space that would otherwise be too small for a bathroom, try re-imagining it as a wet room. With a bit of creativity, you can create your own unique little paradise in a space that would otherwise go unused, which is a major win in our books!
Ensure the Entire Space is Waterproofed: Keep in mind that without a raised shower basin, the water from your shower will spread more than usual, so ensuring your wet room is fully waterproofed is crucial. As much as we celebrate DIY-ing, you should consult a professional on this one. They’ll have little tips and tricks to ensure your wet room doesn’t get too wet! For example, an expert will know the best way to manage the drainage gradient and can recommend features like hidden tray systems that collect water beneath your shower to further assist with drainage.
Select Wet Room-Friendly Materials: When selecting materials for your wet room, it’s a given that they’ll need to be waterproof, but don’t forget to pay special attention to your flooring. Again, without any physical barriers to contain the water, you’ll notice more puddles on the floor than you’re used to. This means you’ll need to select flooring with non-slip properties like vinyl and natural stone. Another great option here is to install in-floor heating to speed up the evaporation process, minimize the risk of slipping, and keep your feet nice and toasty all at the same time.
Play with Different Textures and Patterns: Although it may be tempting to cover your wet room from top to bottom in one type of tile, that can feel a bit cold, especially in basement bathrooms. Truly showstopping wet rooms always have an element of texture, and polished plaster provides just that. Plus, when applied in layers, it’s waterproof and seamless, so you don’t have to worry about cleaning any pesky grout lines. Zoning the spaces in a wet room is also an important step. Without it, you could end up with one giant space with no dimension. The best way to define each space without the help of physical barriers is by using patterns. We love using a bold pattern to define the shower space while keeping the remainder of the bathroom in a more neutral tile, but the choices are essentially endless!
Carefully Select Your Fixtures: To ensure all your bathroom fixtures dry as quickly as possible, you’ll want to be mindful when selecting items like your toilet too. Traditional toilets have nooks and crannies where water can pool and lead to mold and mildew. Wall-mounted toilets minimize this risk by eliminating those nooks and crannies, which also happens to make them easier to clean. Without the bulk of a base, wall-mounted toilets also give the illusion of more space, making them the perfect model for a wet room.

 Canada