How to Quickly Spring-Clean Your Bathroom

Finally, after months of enduring painfully short days and long-drawn-out nights, Spring is on its way, and we couldn’t be more excited! As mother nature slowly wakes from her winter slumber and graces us with more daylight and warmer temperatures, it’s the perfect time to think about freshening up your home. So, roll up your sleeves and get ready to give your bathroom the spring cleaning it's been waiting for — we promise it won’t be as painful as you think!
Set the Scene: Although the Monica Geller’s of the world may excitedly look forward to the prospect of spring cleaning, the rest of us might need a bit of motivation to get there. Before you even think about picking up that spray bottle, grab your speaker and select a playlist of your choice. Trust us, cleaning is always better with the right soundtrack! While your hips are slowly warming up to the music, gather all the supplies you’ll need. We’re talking, cleaning spray, cloths, brushes, gloves, and even your mop and bucket. With everything close by you can quickly move from one step to another without missing a beat (no pun intended)!
Start with The Laundry: Now that you’ve set the scene, gather everything that needs to be laundered and toss it in the washing machine. This includes your bathmats, shower liner and curtain (if yours is machine-washable), and towels. While they’re tumbling away, start working your way through the rest of the guide, and you’ll be able to piece your bathroom back together before you know it.
Clear Out Any Clutter: With all your textiles out of the way, your bathroom is probably looking a whole lot neater, but your work is far from over. Next up you’re going to clear out any clutter to ensure nothing is standing between you and your cleaning. Grab all the products from your countertops and shelves and place them in a laundry basket for safekeeping. Once everything is cleared off, it’s time to get down to business.
Dust the Forgotten: Nothing slows down a deep clean more than pushing around a layer of dust with your cleaning products. And although we don’t particularly enjoy dusting, after a long and dry winter most of our bathrooms are in desperate need of it. So, pop your hand in an old sock (trust us on this one) and glide your hand over your countertops, shelves, light fixtures, and baseboards. Without all that pesky dust, the rest of your cleaning will go so much smoother!
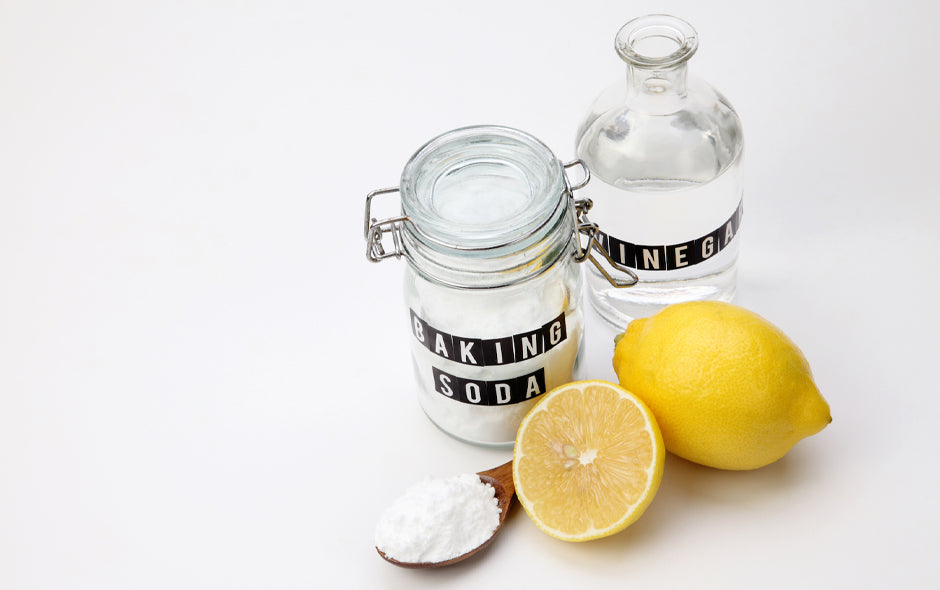
Spray, Scrub, Wipe, and Rinse: Now we’re finally getting to the rewarding part — making your bathroom shine! Grab the cleaning solution of your choice (we’re a bit partial to a homemade vinegar solution) and spray down all the surfaces in your bathroom. It may seem like a weird technique to spray everything at once, but there’s a method to the madness. To be effective, most cleaning solutions need to sit before they are wiped off and this technique accounts for that. Once everything is sprayed, begin cleaning where you first sprayed and move on from there. Make sure you give everything a thorough wipe/scrub (and rinse if your cleaning solution requires it) and always remember to wipe down your toilet last to avoid cross-contamination.
Finish with the Floor: With all your surfaces sparkling like new, it’s time to turn your attention to your floors. Vacuum up any debris and begin mopping at the point furthest away from the door. Then work your way backward until you reach the door to ensure your hard work isn’t inadvertently ruined by your footprints. While the floor dries, toss your towels in the dryer (if you haven’t already) and hang up any items that need to be air-dried.
Once everything has dried and you’ve carefully put your bathroom back together, it’s time to relax. Switch your playlist over to something a bit more tranquil, grab your favourite book, and sink into your squeaky-clean bathtub — no kids allowed!

 Canada